- Follow us:


Wednesday, August 31st, 2016
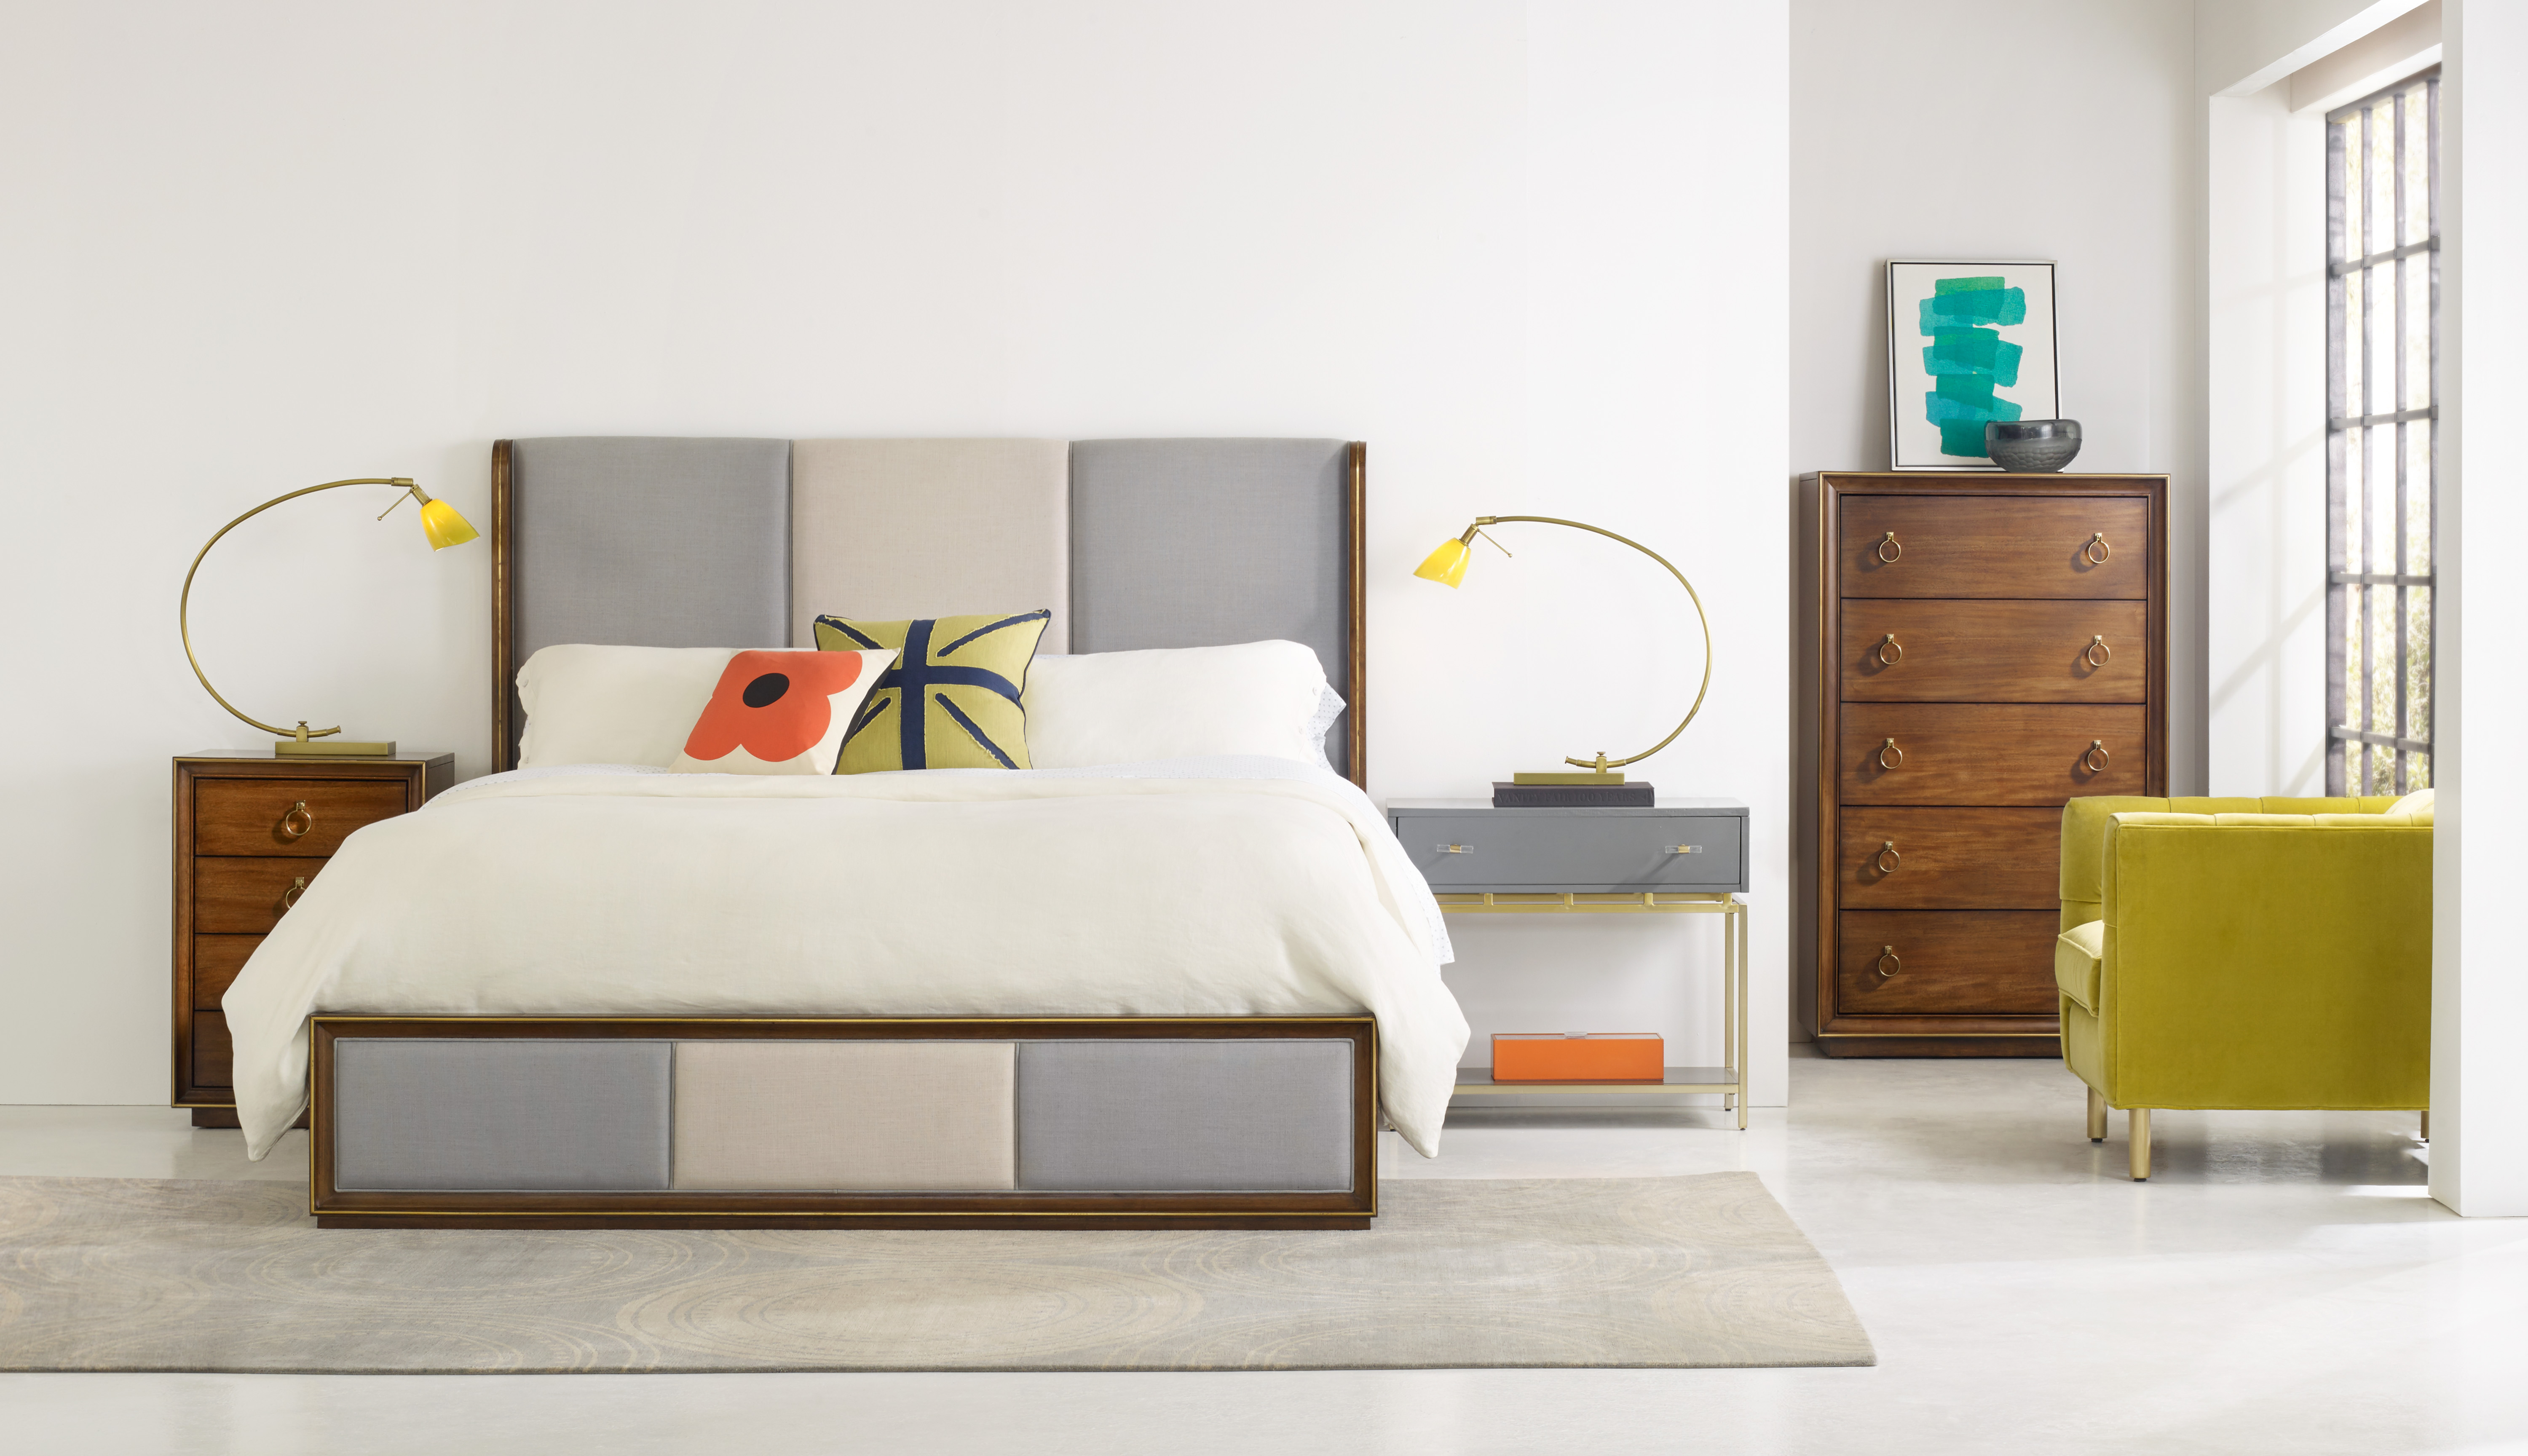
1586-90966-BRN Swell King Shelter Upholstered Bed: The airy atmosphere here achieved can be your next project or your project with an interior designer.
As soon as you have figured out what your home would look like, the next big question is – should you do-it-yourself or hire an expert? Or is it possible to have the best of both worlds?
Interior design was not a known profession before the 20th century. Back then, homeowners designed their houses unless they were royalty who had people doing things for them. A lot of people still think that you still need to be a palace dweller in order to hire a designer. Others are simply afraid of the cost (or at least the perceived costs). Still some think not of the cost but are afraid that the result might not reflect their preference or taste.
Advantages of DIY Projects
Designing your home simply means that you won’t have to hire someone and pay him to do it for you. The results will also show your personal taste and you can proudly take credit for all of your work. If you have done a DIY project in the past and were successful, then you shouldn’t have trouble doing it again.
Whether the DIY project works for you or not actually depends on your strengths. It is as simple as knowing what makes you tick and finding the items that define what you like.
DIY projects can be done in phases, more often than not, as the funds allow. You also don’t need to explain what you want to a complete stranger.
The Downside of Doing it Yourself
Primarily, you could mess the project up and if you are working on a bi-budgeted project then you might have to live with the errors for many years. It’s either this or you pay a hefty amount of money just to make the nightmare go away.
You must have the ability to visualize. If you believe that you’re not the creative type then you have to recognize the fact that you need help.
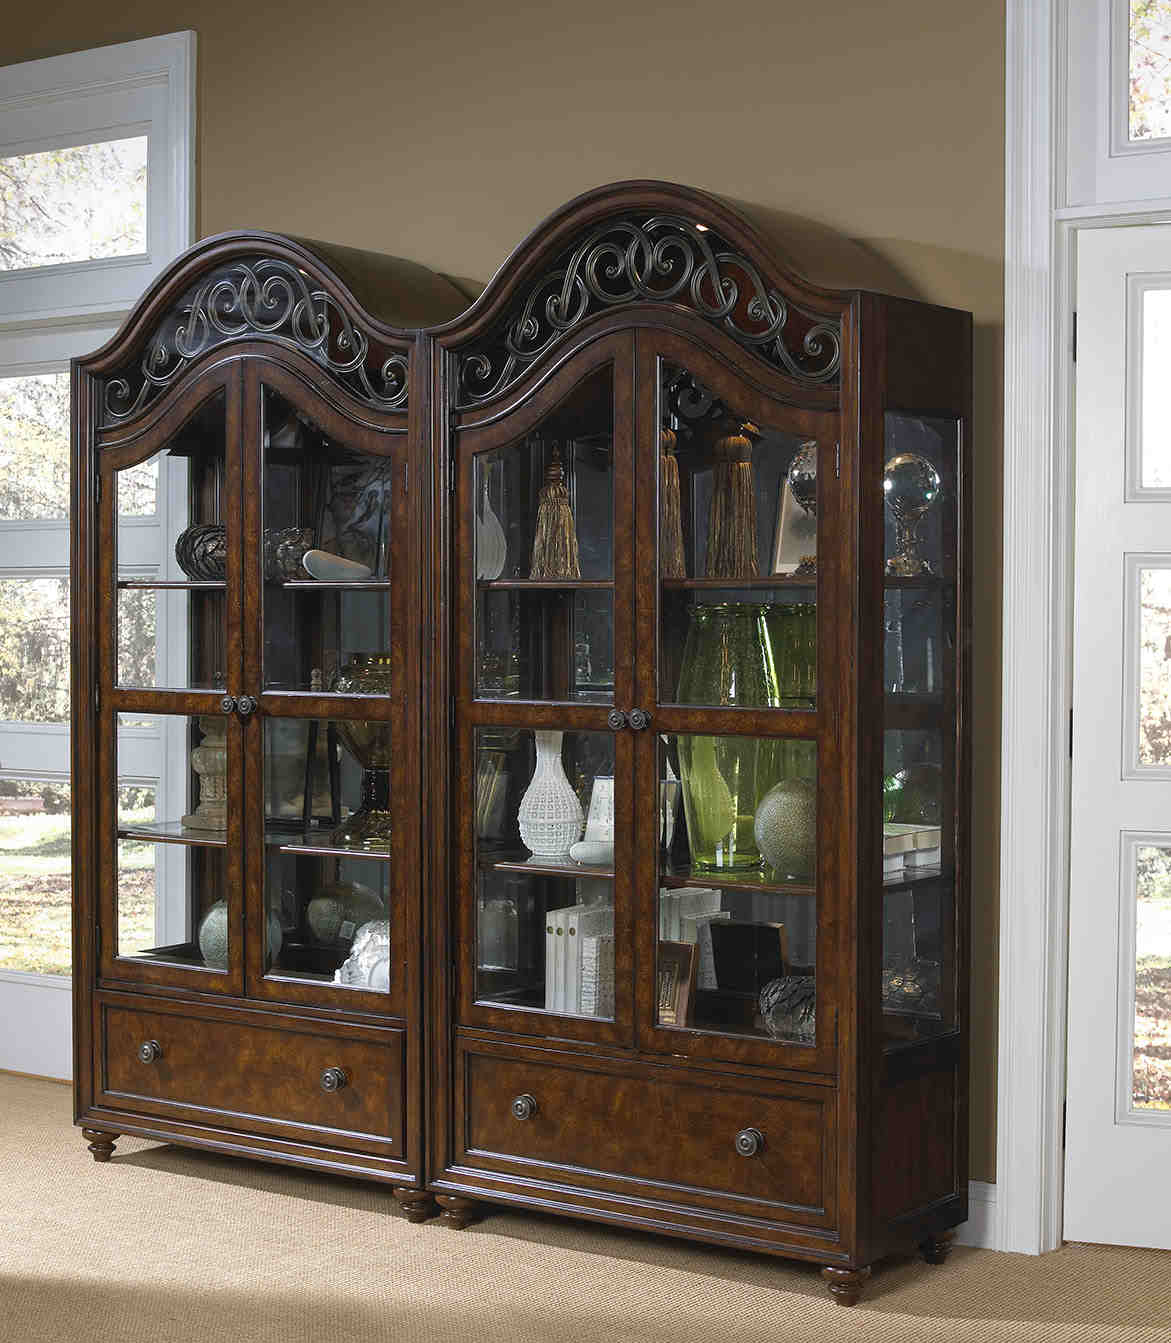
FFDM Highlands Collection
Working with an Expert and Being a DIY Enthusiast
Or you could go down the less traveled path of working with a designer or a decorator. Two heads, as the saying goes, is always better than one so this cooperative thing should work for the better. There are many alternative working arrangements that you two could consider.
Perhaps you could consider hiring a decorator who is paid by the hour. This expert should be able to help you plan the layout, seek out the right kinds of furniture, shop for fabrics and select the right colors. After you get help on these things, you will be better able to execute the plan on your own. Of course, not all designers would sign up for small assignments, hence, find the ones that are paid by the hour.
You can design the project on your own and eventually hire a pro to guide you throughout the selection process.
If working with an actual designer makes you feel uncomfortable, then you can always go for a virtual designer. There is now a growing number of interior designers who are now posting their portfolios online. You can get in touch with them, send photos of your proposed floor plan, then ask for their professional fee. You can do all these without even meeting them in person.
You can also work with someone from a furniture store. There are shops that offer decorating or designing services. Some will work with you on the project – free of charge – for as long as you buy furniture from their shop. If you really love the furniture shop and the pieces that they sell, then, obviously, their stuff is the way to go.
Tags: diy interior design, DIY projects, interior designer vs DIY, McCreerys, McCreerys Home Furnishings, tips
Posted in Interior Design 101, Interior Design Elements, The Interior Designer | No Comments »
Tuesday, August 30th, 2016
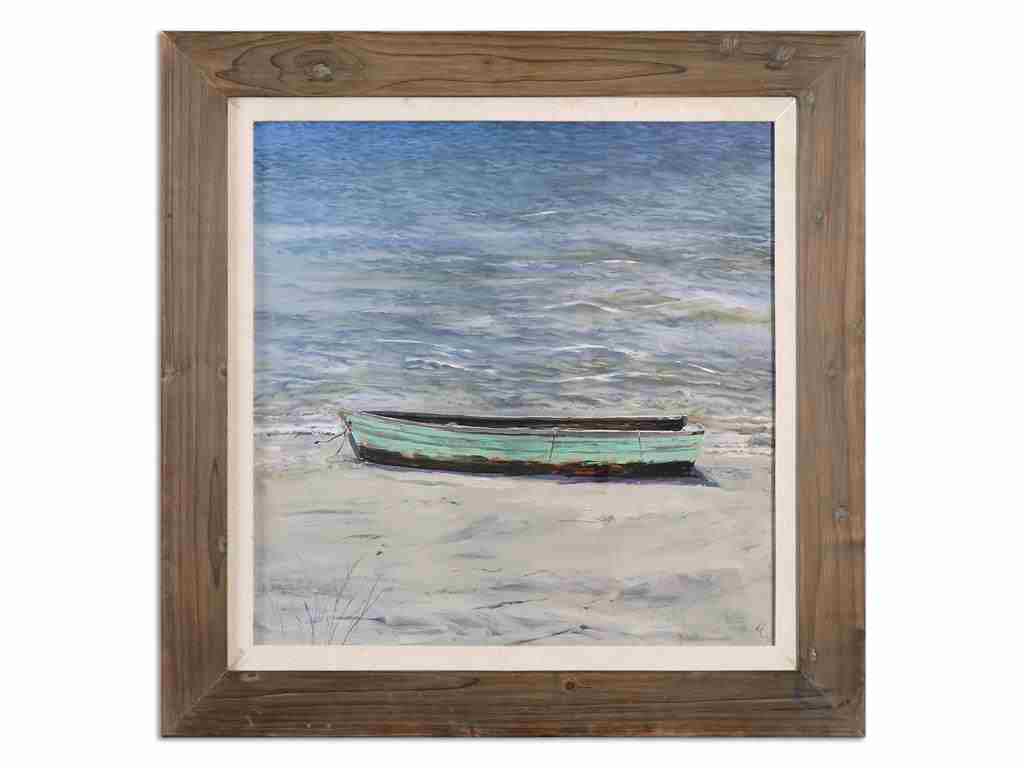
Accessories Uttermost Das Boot Nautical Art 41539
Some people focus on ocean threats more than what this place can contribute to their health. Whether they may be thinking of algal blooms, floods or pollution, these people only see the harmful things that come out of the regal blue oceans. Yet the notion of living near a beach can make one feel and literally be healthy.
Once you have decided to embrace the nautical theme, there are many maintenance tips that you need to keep in mind. Here are some of the fundamental ones –
Learn How to Clean Wood Furniture
Quality wood furniture can actually last a lifetime for as long as you know how to take care of it. Wood is susceptible to abrasions, scratches and harsh weather especially when they are not properly cared for.
Ask for cleaning instructions once you purchase furniture. Apart from the cleaning instructions, you should also avoid heat damage and rings by not using coasters. Be sure to use decorative placemats as well as a tablecloth if you want to protect wood tables.
There are many other factors that can wreak havoc on wood such as heat, sunlight and rain. Never place wood furniture in front of any uncovered window, fireplace or vent. Dust, too, can eventually destroy furniture, too. Airborne particles can become a filmy layer that will scratch the wood eventually. Dusting more frequently will keep the buildup from becoming thicker. Use soft cloth such as cloth diaper, cotton T-shirt or any microfiber cloth to avoid wiping damage.
There are times, though, when dusting is no longer enough to clean wood furniture. Don’t ever use all-purpose solutions or cleaner as these can damage the finish.
A spot that has been heavily soiled can be cleaned with a cloth dipped in mild dish detergent. Wring out the solution then gently wipe the soiled area. Rinse with a damp cloth then wipe with soft dry cloth.
Damages that are too extensive need to be treated with touch up sticks or polishes. Overly dry wood can also be re-oiled. Begin by using cleaning soap, then the appropriate cleaner, and then prep the surface using steel wool.
Always work with the grain. Apply the furniture oil liberally then let it soak in the wood for no less than 15 minutes. If you want to apply protective coating, then be sure to set the furniture for about 24 hours before moving forward.
Depending on the furniture finish, the piece may have a protective wax coating. This is a piece that you need re-waxed as it ages. The re-waxing is a guarantee that the surface will be continually protected.
Remove Tough Stains
Despite your efforts, there are inevitable events that could lead to the staining of your wood furniture. Whatever stain you need to deal with, just be sure to clean it up quickly. Remember that the longer the stain stays, the more difficult it will be to remove.
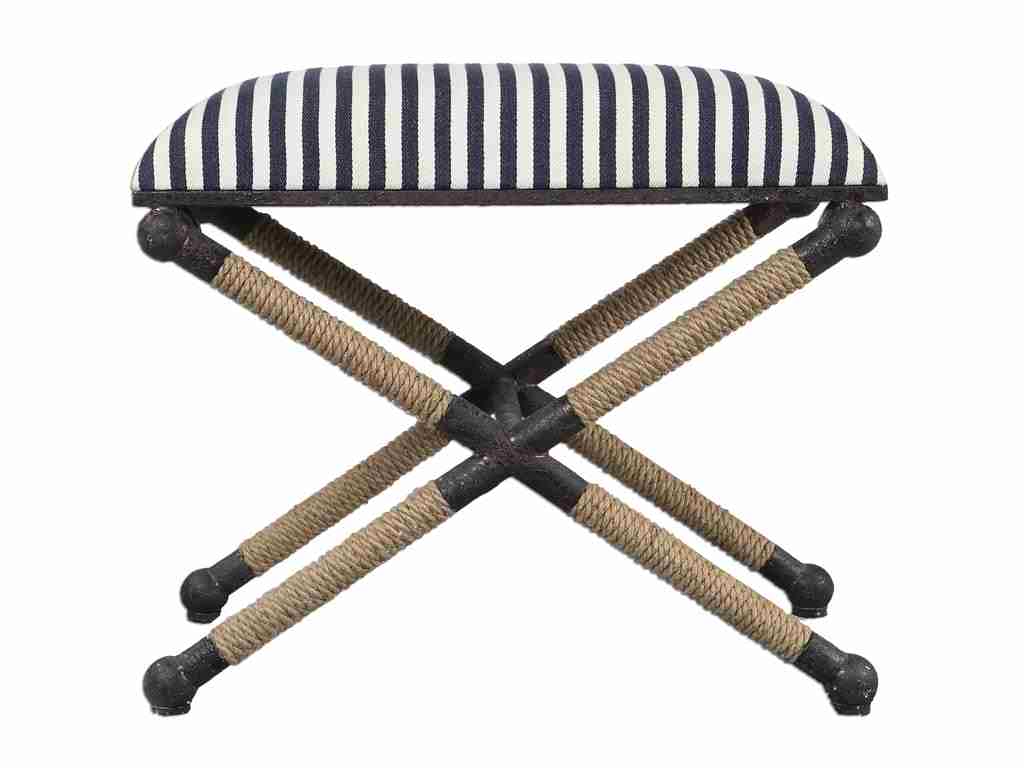
Living Room Uttermost Braddock Small Bench 23228
Keep the Wood Smelling Awesome
There are wood furniture pieces that could develop an unpleasant odor later on. This is especially true when they have been stored. When this happens, just sprinkle some baking soda onto the wooden surface to remove the unpleasant odor. You can also place a pan of charcoal in the drawers so that the odor would stop emanating. You can also leave the piece in any shaded area during a dry day. This should remove any malodorous stench after a few hours of exposure.
Care for Weathering
Over time, your furniture will have attained a silvery-gray patina. This is when you can tell that this piece is starting to weather. It takes nine months for this process to become more serious. The more rain and sunlight the furniture is exposed to, the less time you have to save your furniture. Just find the appropriate cleaner and you should be fine.
Tags: caring for wood furniture, caring for wooden furniture, McCreerys, McCreerys Home Furnishings, nautical, nautical design, nautical style, outdoors furniture care, wood furniture, wood furniture care, wood furniture maintenance, wooden furniture, wooden furniture maintenance, wooden furniture maintenance tips
Posted in Furniture, Interior Design 101, Interior Design Themes | No Comments »
Tuesday, August 30th, 2016
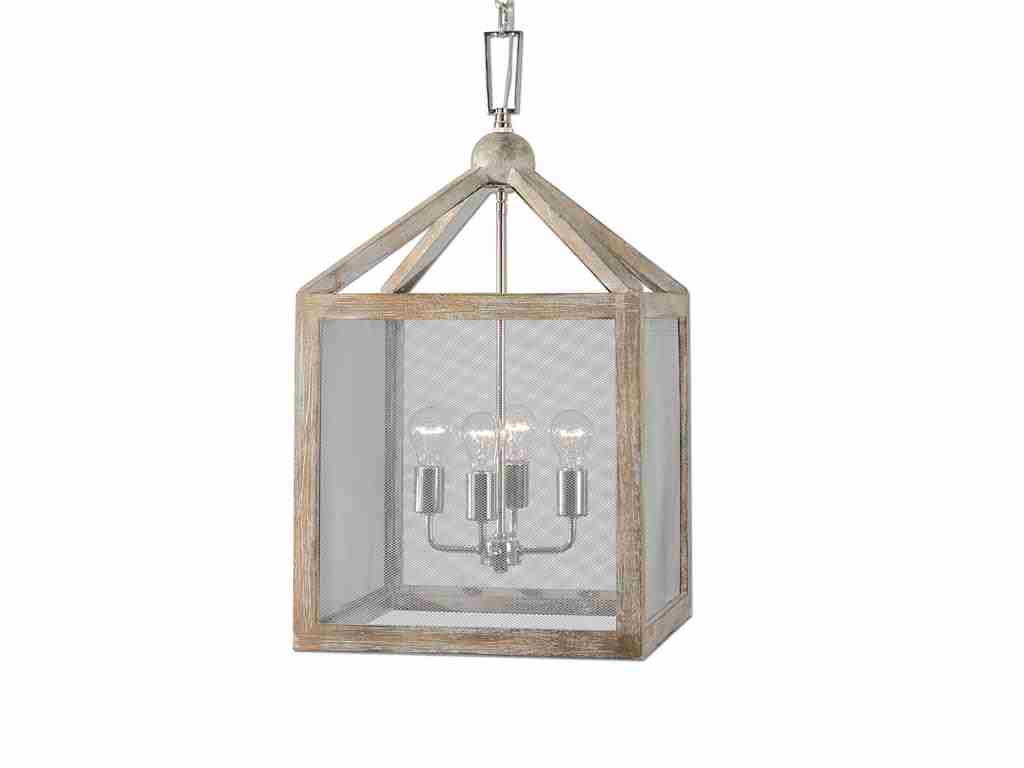
The Lamps and Lighting Uttermost Nashua 4 Light Wooden Lantern Pendant 22050 illuminates and adds beauty to your veranda.
Whether it’s winter, spring, summer or fall, it is great to be able to enjoy the outdoors even when this is only from your home’s veranda. There are two forms of the word veranda. One is simply veranda and the other is verandah though the version minus the h seems to be preferred by more people.
The veranda has become a part of many homeowners’ psyche. This roofed platform outside of your home often extends to the front or, at times, extending till the sides of the structure. A veranda can be enclosed by railing.
Veranda History
The word verandah is believed to have come from India. This is a general term used to describe any outdoor extension of the home. There are also words that sound similar in Portugal and Spain. These are baranda also barandilla. It was only when this structure reached Australia that the term veranda became that covered area which comes with balustrades.
Since there are many meanings that are being attributed to veranda, a lot of covered areas outside of the house have been referred to as such.
Getting your veranda ready for those outdoor fall parties and cool, starry evenings means you also need to prepare to decorate. Since the veranda is essentially attached to the home structure, the structure plays a huge role on the curb appeal. Decorate the veranda for a more comfortable living space and an appealing view.
Brighten Up
Install recessed lighting along the ceiling of the veranda. Place them at regular intervals so that each fixture is able to illuminate the space when nighttime comes. These lights can also up the level of social entertainment, security and curb appeal.
Have the lights installed directly down the veranda’s back wall so that the space’s texture and color are both enhanced. Place a lovely pendant light right in front of the entryway to illuminate the area. This should be stylish enough to catch the attention of your friends and guests. Add more glamour by draping strands of party lights all around the porch posts, handrails and columns.
Bring in the Cool Breeze
Add a ceiling fan or two depending on the size of the veranda. This should provide a cool breeze during the hot days and those extra warm nights. Find a ceiling fan that goes with the theme that you set up on your veranda. Black blades would go well with a black and white theme especially in a Georgian-style place. Bronze blades, on the other hand, complement traditional setups.
If you have a modern veranda, then you can use portable oscillating fans which come in various sizes, styles and colors. These can be placed anywhere on the veranda as the needs arise.
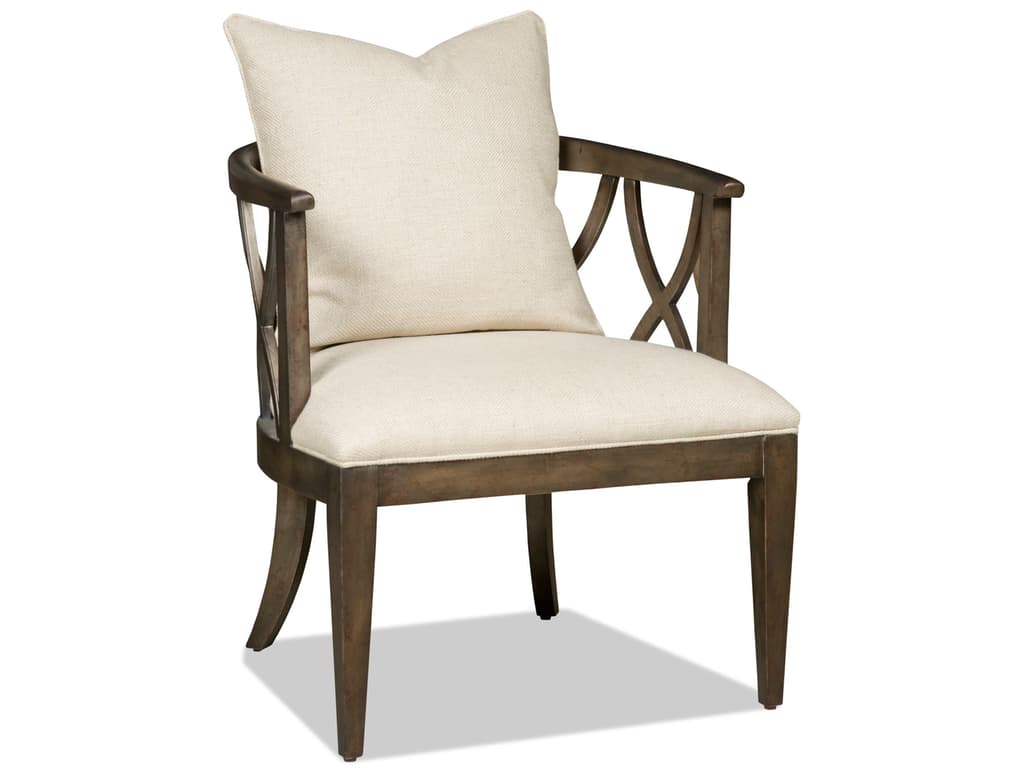
The Hooker Furniture Living Room Accent Chair is as comfy as comfy could get.
Set Up Comfy Seats
Comfortable seats should be your chief concern especially when you are opting to socialize in your veranda. As a relaxation haven, the space should have cushioned seating, maybe even a plush carpet.
If you plan to dine there, then add a dining set and a bench. Increase the livability of this outdoor space by adding ottomans and accent tables.
Choose weather-resistant furniture pieces such as wrought-iron. If the space is amply shaded, then you can brave having wicker furniture. White wicker furniture can add a casual appeal but if you want to achieve a traditional ambience, then bring some wooden outdoor pieces.
Add some area rugs that are especially designed for outdoor spaces to cap the laidback, rustic, traditional, or just about any look that you set up.
Nature and Your Veranda
Make your veranda more exciting by adding decorative accents such as ceramic pots, greeneries, flowers, even edible herbs. Add some wind chimes, a small fountain, some paper lanterns and you’re good to go.
Tags: designing the veranda, McCreerys, McCreerys Home Furnishings, tips, veranda, veranda design, veranda history
Posted in Furniture, Interior Design 101, Outdoors Style | No Comments »
Monday, August 29th, 2016
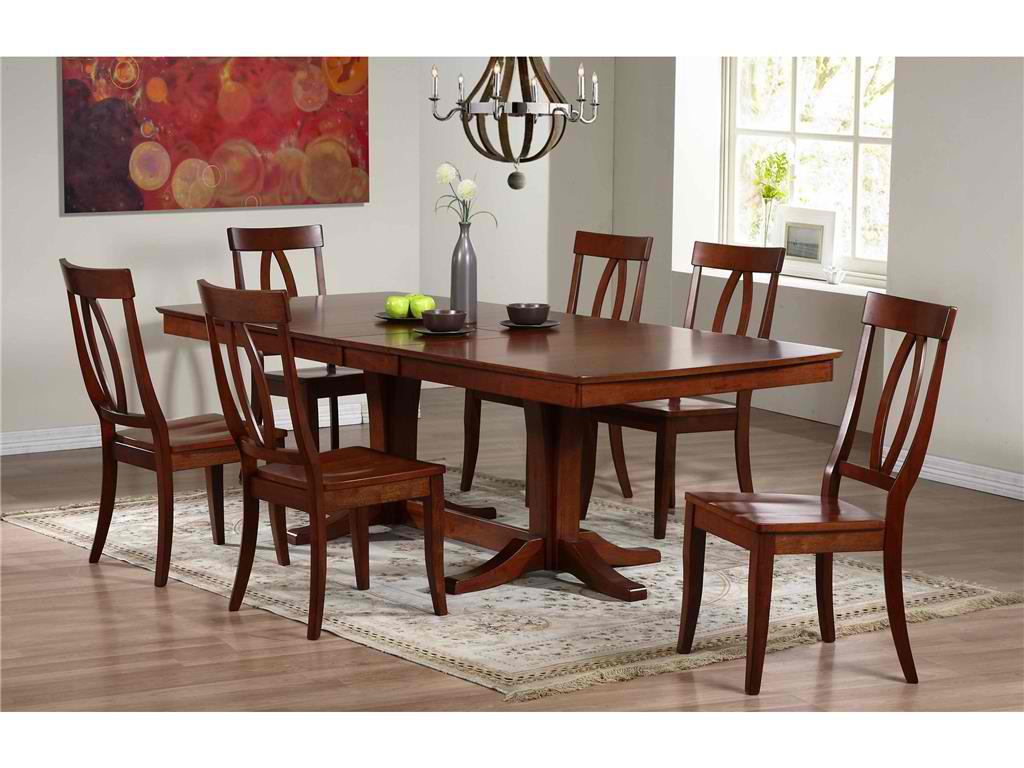
Winners Only Dining Room Dining Table DSB14296C offers the warm brown colors of fall.
People use art to express themselves. These can be framed paintings or photos, it could be a bust, but all are aimed at making your home look more interesting. The art that you display tells a lot about your personality. Don’t be afraid, though, to add large pieces on those big, blank walls. If you are feeling more creative, then make your own art. There are many ways that you can hang some stylish art especially this fall.
Display Gorgeous Harvests
Now that summer is saying farewell, it’s time to embrace the gorgeous style that the fall season has to offer. There are many fall elements that you can use in designing your home. Think of pumpkins, falling leaves, spices and earthy hues. You can bring in these elements to the porch, right into the living room and all the way to the bedroom.
Impress with Metals
Metallics are quite in during fall. These are great accent pieces since they shimmer – they are practically begging for attention. Use anything from silver, bronze to gold on table lamps, candlesticks, or side tables. A great thing about metallics is that they can stylize without even trying.
It’s All About Geometry and Texture
Fall is also rich on geometric patterns. Beautiful shapes can amp the look in your home. Use diamond shapes, stripes, even chevrons. Your favorite shape should be the star of the design.
This season is also the perfect time to add a little texture to your design. Use rich velvet, chunky knits, rustic woods, etc.
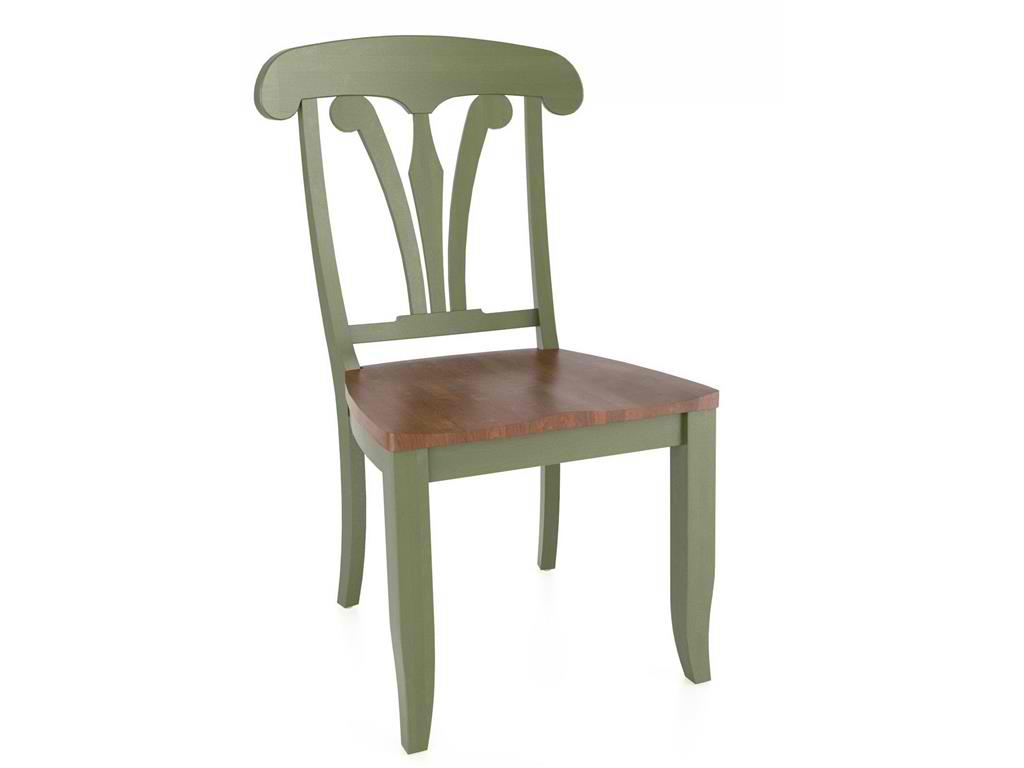
Canadel Dining Room Side Chair CHA1261 has both green and brown; both colors of Mother Nature.
Seasonal Colors
You can never go wrong with the autumn palette during fall. Check the colors that are trending such as jewel tones, spicy hues, classic neutrals, white, black and certain shades of blue.
Look all around you and see where you can add fall décor. Add a table to the foyer, put a tall vase of colorful flowers in the living room, hang a wreath right on the front door, and welcome all your guests with the orange pumpkins in your front yard.
Make the Fireplace Useful
With the weather turning cooler each month, you can now look at decorating your fireplace and mantel. Right before lighting up the fireplace, though, make sure that it has been inspected and properly cleaned. Once it’s okay to use, have it decorated with garlands made from fall leaves, pumpkin and other hearth décor.
That Room with the View
This is also the season to refresh the windows with some new window covering. This should complement the current season, palette-wise and pattern-wise. Keep the sheers but you may trade out the curtain panels with something that is more appropriate for fall. Look outside of your home for inspiration. Mother Nature has a lot to offer.
Change up the florals from the sunny summer look to the autumn flowers with richer colors. Redecorate with red, orange or brown area rugs in the living room, bedroom, or the kitchen. Bird feathers and leaves are huge design inspirations.
Garden Wagon Decorating
Your garden will serve more purpose this upcoming season so go ahead and lay down the straw at the bottom of a garden wagon. Place a few pumpkins in the wagon but make sure they show through the sides. Put two huge pumpkins in the middle then stack the little ones all around.
Have a pot of mums in the hay that are all around the pumpkins. Use LED lights to add sparkle during dark nights.
You can also add a fall table display for your upcoming dinner parties. An orange, yellow or red table runner should complete the autumn look.
Tags: design geometry, design textures, designing for fall, fall, fall color palette, fall color scheme, fall colors, fall design, fall interior design, geometric, geometric design, geometric elements, McCreerys, McCreerys Home Furnishings, metal, metallic, metallic design, metallics, texture in interior design, textures, tips
Posted in Color Schemes, Fall Season, Interior Design 101, Interior Design Themes | No Comments »
Monday, August 29th, 2016
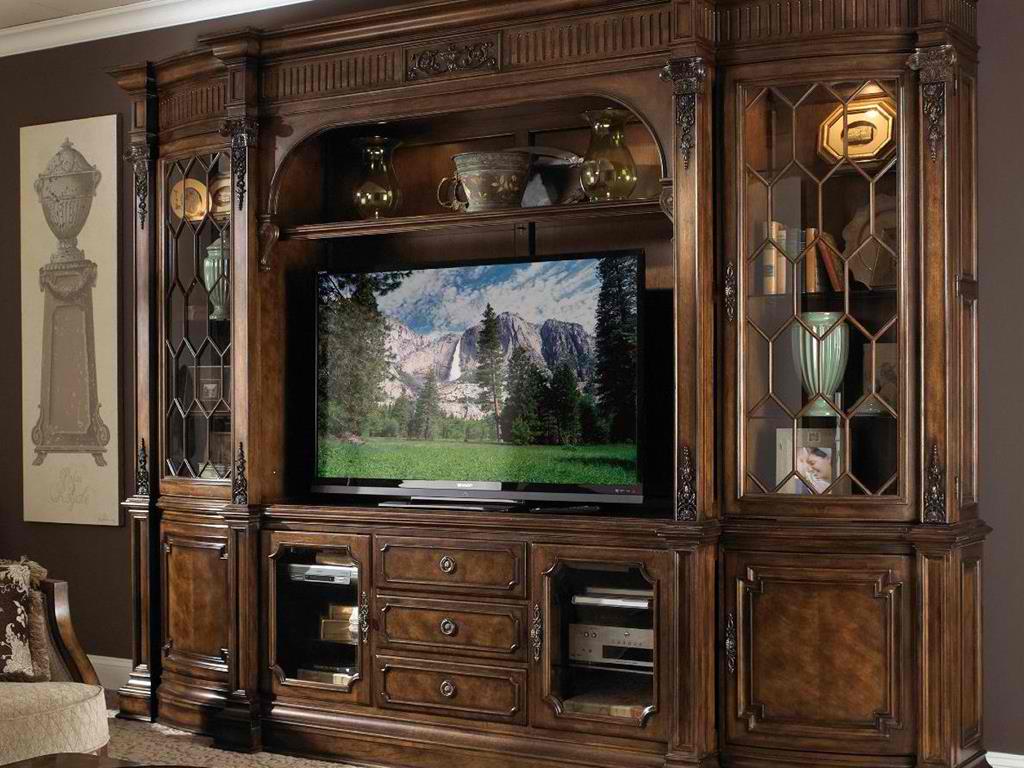
Fine Furniture Design Home Entertainment Entertainment Wall Unit Base, Left 1150-692BL
If you ever stayed or lived in an apartment where you weren’t allowed to paint walls, then you do understand how difficult it can get to become creative. You could only dream of personality and warmth for the room because a painting job simply can’t happen.
If you’re faced with this dilemma, then you have to think of creative ways to cover the walls. Sure, decorating minus paint can be a real challenge but you should not default straightaway to sterile, cold colors like white or beige. Never allow the no-paint rule to make your home look pale or stark.
Here are some tips that can help you decorate the walls with style –
Wall Graphics
These are fantastic things that can aid in your customization of the walls. They are quite easy to apply and remove. No matter what your style is, you will find that wall graphics can make plain walls appear seemingly intricately painted. You can also create the look of a mural.
The great news about wall graphics is that they are not just limited to bare walls in living rooms. You can also spruce up your kitchen cabinets or make the lampshade more exciting. This means that you can use wall graphics if your taste is contemporary, country, or practically anything else. You can even use them if you love everything that’s Zen.
Wall graphics are also available as blackboards which are quite in these days especially inside kitchens.
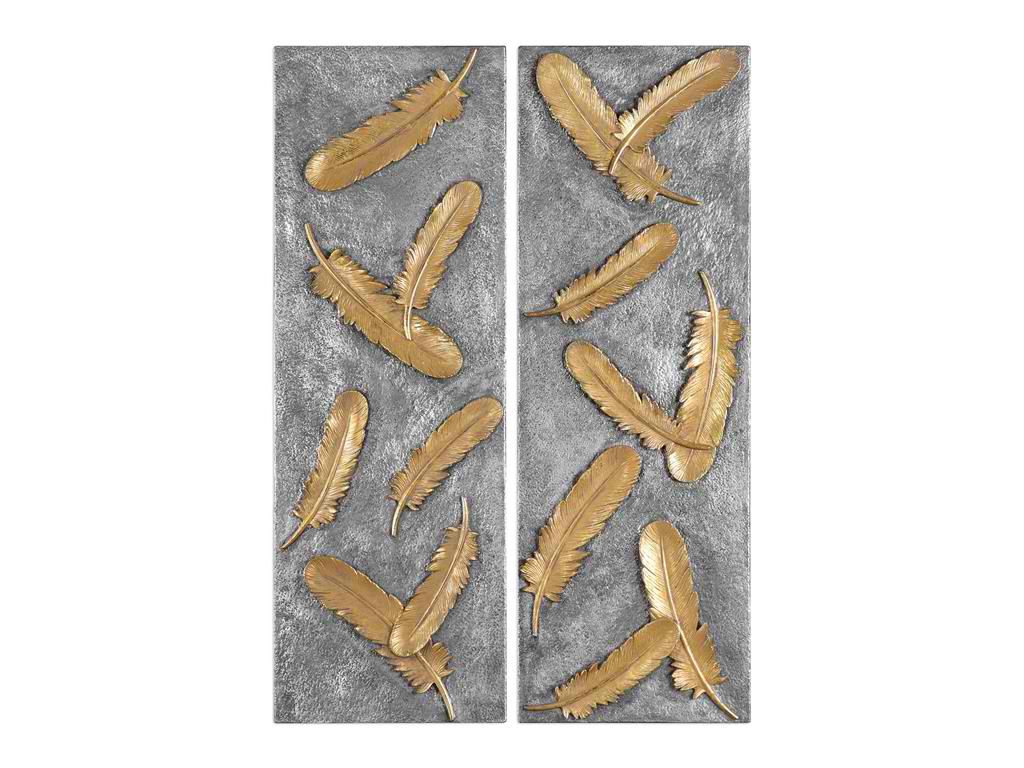
Uttermost Accessories Falling Feathers Gold Wall Art Set2 04073
Temp Wallpaper
This is also referred to as the peelable or strippable wallpaper. It is a decorative accent that works pretty much like the usual wallpaper but the only difference is that it peels away easily and it won’t even leave any residue.
Temporary wallpaper is available in DIY shops and stores and home depots. It is also available in paint shops and online sites. The downside is that they are a bit more expensive. You have to pay about $100 for every eight foot tall, 25-inch width of temporary wallpaper. You can cut down on the cost if you use this wallpaper on an accent wall instead of covering the entire room.
Peel and Stick Tiles
Adding a temporary color to the kitchen is as easy as buying peel and stick tiles. Do this if you’re tired of your kitchen’s current backsplash. These tiles are available in many colors and styles. You can buy them from home improvement shops.
Use scissors or a utility knife to cut them up. They can be easily cleaned using a soft cloth. They also peel off easily and don’t leave any residue once you decide to redecorate or move out.
Curtains
Having curtains doesn’t automatically mean that there should be a window behind it. Use an ordinary curtain rod and attach it to the wall right near the ceiling. Hang the coolest fabric that you can find, the type that reaches down to the floor to achieve an illusion of height.
Fabric
There are two options for fabric – this can be stretched right over the wall or it can be secured using small nails or thumbtacks. You can also buy foam boards that are as high as the walls. Have them covered with fabric then attach the boards onto the walls.
Whichever you end up choosing, adding splashes of colors on the walls is easy without you altering anything permanently.
Hang Art (Whether Yours or Another’s)
It’s time to get creative. Invest in huge canvasses then paint! You can also buy inexpensive pictures from stores and make a collage. This is a surefire way to decorate the walls and make them look unique. Hang the heavier artworks on a stud and not directly on the drywall.
Tags: art, artwork, artwork on walls, blank wall, blank wall designs, curtain, decorating with curtains, decorating with wallpaper, displaying artwork, displaying works of art, dressing up blank walls, fabric, McCreerys, McCreerys Home Furnishings, temporary wall covering, tips, wall covering, wall decor, wall design, wallpaper, wallpapering
Posted in Accents, Accessories, Interior Design 101, Interior Design Elements, Wall Design | No Comments »
Saturday, August 27th, 2016
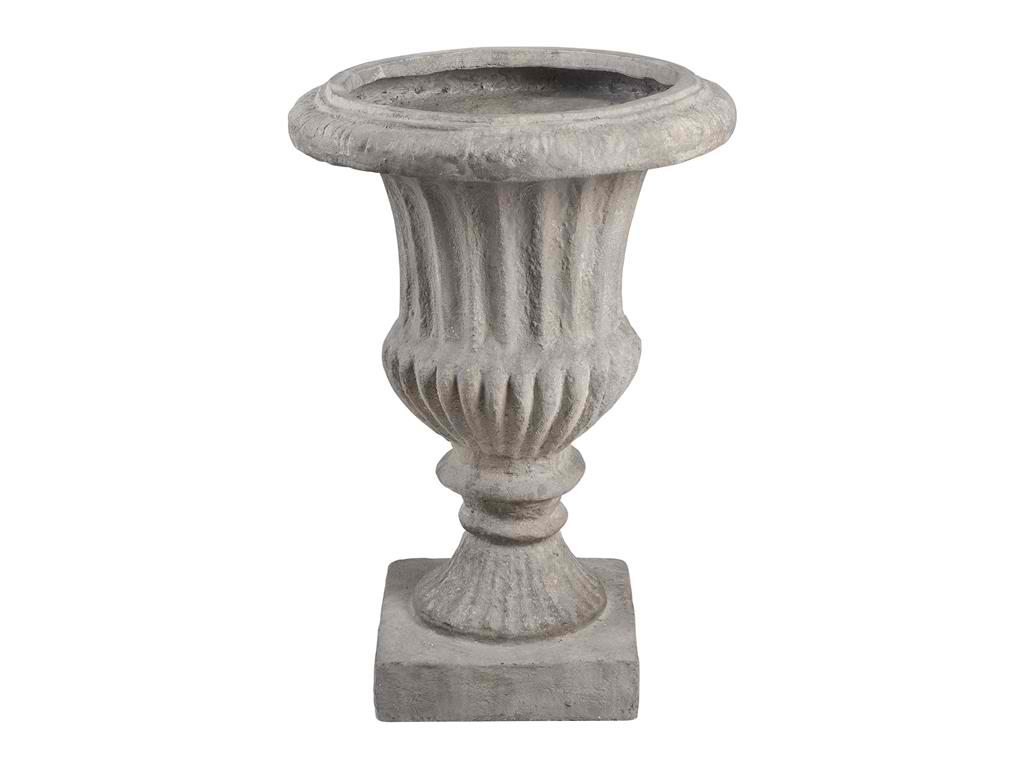
Uttermost Accessories Beaman, Planter 20114 is a staple piece in patio design.
Patios and walkways are wonderful assets that your backyard could offer. They bring wonderful benefits to you and your home. There are many ways that you could use your patio. First, it can be an entertainment area, a party zone, or simply an oasis right on your backyard.
A Relaxing Entertainment Spot
There is nothing more comfy than resting in the backyard during a warm summer night while sipping a cool drink. The kids are out playing in the lawn while you enjoy their peals of laughter.
A patio can greatly enhance this experience. Complete the scenario by adding the most comfortable patio furniture set. This should become an oasis, one that you could unwind in.
The Party Zone
You will definitely feel wonderful as you fire up the grill and have a barbecue party going. Add all the grilling essentials that you know and the fun and convenience would definitely be amped up.
Add Value
Adding value to your property is as easy as installing a walkway or a patio. You get to enjoy the benefits that patios offer for as long as you live in the property. These benefits extend all the way to that time when you are ready to give up your house and move to a different home.
Potential buyers will surely be awed as they see the beautiful aesthetics of your outdoor haven. Your home will be doubly desirable with the patio sitting where bare concrete would have been.
Hooker Furniture Living Room Melange Flowered Drum Table 638-50011
Assuring Safety
The safety of your home also goes up if you install a walkway and a patio. Mulch and rocks are often used as a path all around houses but these can cause accidents in both adults and children. Peace of mind can be achieved once you make the conscious decision to install a walkway and a lovely patio that goes with it.
Dress Up the Patio
Sure, the patio can be a haven but it isn’t so until you find the right furniture pieces to set it up. Think of banquet seating inside a kitchen. Now imagine this set up on your patio. Invest in a bench, some chairs and a dining table. Be sure to integrate the look of these pieces with the rest of the house.
Match the shapes of the table and the patio. A round table will look great on a cute, round patio. Add a tall fence to have a more private and cozy feel.
You can also eliminate useless spaces behind furnishing or in corners. You can afford ample space on the patio for a small table and a pair of chairs. This is a great setup for those date nights.
Patio with Bright Colors
Small patios are advantageous since they are better able to show off bright colors than large patios. These playful colors don’t look as overwhelming on a cute patio which means you can go ahead and use bright blues and greens. Ottomans can also match the patio décor while providing an extra seat for a person or two.
Nature can also offer lush colors such as green potted plants and colorful flowers.
Set Up Open Sight Lines
Choose seating that comes with open back. This should keep the sight lines flowing and it should visually expand the patio. Choose to keep the color palette basic, even unassuming. Use pastels such as green or blue on a bench and its partner, the coffee table. Distress the furniture for more laidback look.
You can also use narrower pieces such as a bench paired with a long, narrow table. Have these on the patio and you get a great choice for those dine-out nights.
Tags: designing the patio, McCreerys, McCreerys Home Furnishings, patio, patio and walkway, patio design, patio design elements, patio essentials, patio furnishings, patio furniture, patio style, stylizing the patio, tips
Posted in Accents, Accessories, Outdoors Style | No Comments »
Friday, August 26th, 2016

Accessories Uttermost Silvia Silver Wall Shelf 04033 can hold bathroom accessories.
Bathroom cleanliness is quite important to homes and more so to facilities. Unsanitary restrooms could be home to germs that can bring about allergies and a host of other diseases. This is the very reason why the bathroom should be cleaned every single day.
Repeat customers could be the cause of unsanitary bathrooms. Effects of unsanitary bathrooms could extend to employee productivity as it has been proven that unclean bathrooms can cause lower productivity. As a result, various aspects of the business can be affected by something that is as simple as a bathroom cleanup.
Germs can bring about allergies and a whole host of diseases. Begin cleaning from the vents and ceilings. Have them dusted for cobwebs. Make sure the dust from those areas reach the floor.
Next, have the mirrors and other wall pieces dusted, cleaned then polished. Make sure the hand dryers are disinfected, too. Use a disinfectant to clean partition doors. After these, move on to toilet bowl disinfecting. Disinfect the inner and outer parts of the bowl. Don’t forget the base.
Be sure to empty out the trash receptacles of paper towels and sanitary pads. Remove gum and other stuck dirt on the floor. Mop the floor and use a disinfecting solution.
Lastly, wipe hand plates, door handles, and kick plates.
These tips should help you clean the bathroom like a pro or at least know how to check right after a professional commercial cleanup.
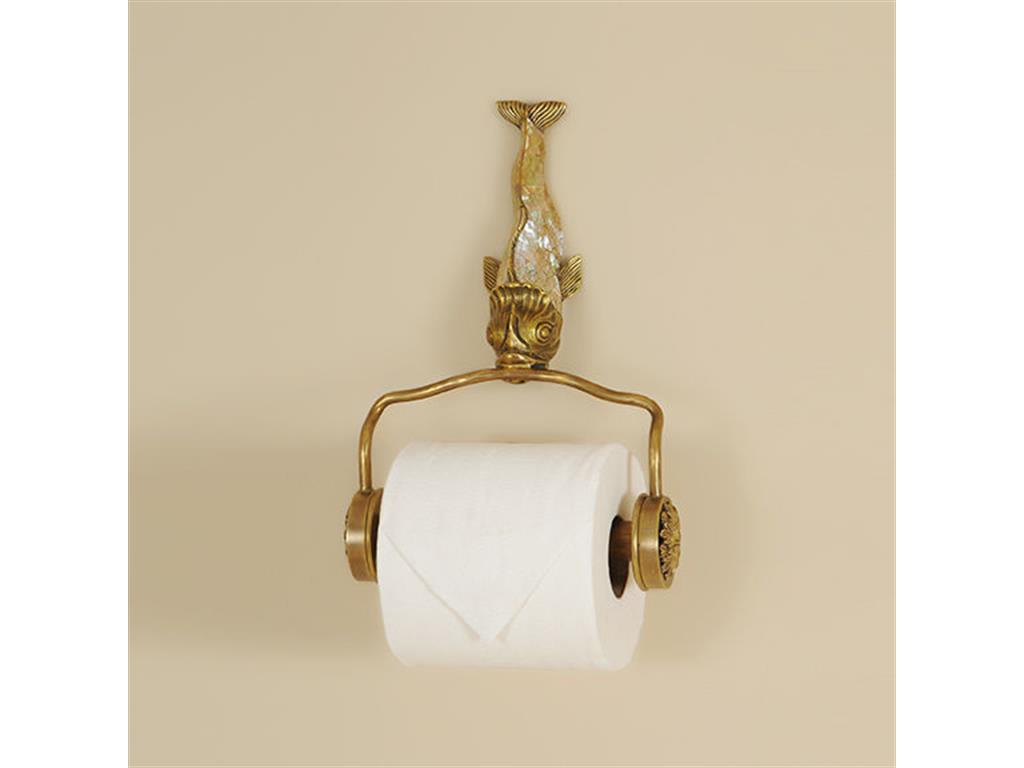
Maitland-Smith Bathroom Cast Brass Fish Tissue Holder 1254-350 makes tissue dispensing a lot more exciting.
Clean the Stained Bathtub
There are two things that you need to remember when cleaning a stained bathtub in hotels and other such areas – first, you have to know which stain removal technique you would use and; second, find out which products would be right for the tub.
The most common bathtub materials are enameled metal, acrylic and porcelain. If your bathtub looks like plastic, then it is most probably acrylic. If it looks non-plastic, it is porcelain, iron or steel.
To be able to tell the difference between porcelain and enamel, all you have to do is to stick a magnet on the side of the tub. If the magnet sticks, then it is enamel.
If you are removing stain from a porcelain tub, you might want to buy a pumice stick. This can scour the surface and could get rid of stains on porcelain toilet bowls. This scouring stick costs just $2.
Removing the stain from enameled tubs can be a bit more difficult. Pumice stick should not be used in such cases because they can leave permanent scratches. This is also true with anything that is acidic so say no to vinegar and bleach.
Abrasive powders may be used but be sure to test a part of the tub before you go all out on your cleanup. Use such powders sparingly, though. For tougher stains, make a paste with the powder then allow it to sit for half an hour before you rinse away.
If you want to be on the safe side, use the ever reliable hydrogen peroxide. It is cheap and it can make the bathtub look sparkly clean.
‘Out to clean an acrylic tub? Then know that this type is more prone to fading, scratching and cracking. Since this is so, avoid anything that’s abrasive. Use cream cleaners, again, allowing it to sit for half an hour before the actual cleanup.
Mildewy Walls and Flooring
Another serious, dirt problem in the bathroom is mildew. You can work like crazy each day, cleaning and scrubbing, but if it still stinks, then you have to look for the culprit. More often than not, it is mildew.
Find an anti-mildew solution then gently scrub the area. It helps if you let the solution sit for a few minutes before rinsing it off.
Tags: bathroom interiors, bathroom style, cleaning mold and mildew, designing commercial bathrooms, home cleaning, home cleanup, McCreerys, McCreerys Home Furnishings, spa bathroom, spa-like bathroom, tips
Posted in Bathroom Design, Home Maintenance, Interior Design 101, Interior Design Elements | No Comments »
Thursday, August 25th, 2016

Maitland-Smith Lamps and Lighting Antique Brass, Brass Wall Lamp 1943-130 is a unique replacement for the usual painted wall.
Interior painting is no less than the most popular home improvement project in the world of interior design. This is understandable as it is an easy and affordable way to freshen up the look in rooms. Painting can also be done by family members as a weekend project as it does not require specialized training. What you need is just a little patience, some practice and a few tips.
Prep the Surface
The most successful paint jobs begin with surface preparation. This means you should sand, scrape, patch, and filling cracks, dents and holes. Basically, any surface imperfection must be solved. This is the dirtiest part of the project but it is also the most crucial. Do something wrong during this phase and something worse could come up later.
Primer Tinting
The next important step is to prime the wall. Primer can block stains from bleeding out. It also makes single coat possible as it also improves the adhesion of the paint used. Peeling and blistering could also be the result of non-priming.
There are now paints that come with primers yet nothing covers as great as a dedicated primer.
Plastic drop cloths are a cheap way of protecting furnishings and the floor from spatters. It may be wiser to invest in canvas, though. Canvas is durable and is rip-resistant. It offers a flatter layer compared to plastic which means you won’t have to worry about tripping that much.
Canvas drop cloth can be folded around doorways and corners which is another advantage compared to plastic sheets. Also, most plastic drop cloths are not reusable.
Canvas can last a lifetime.
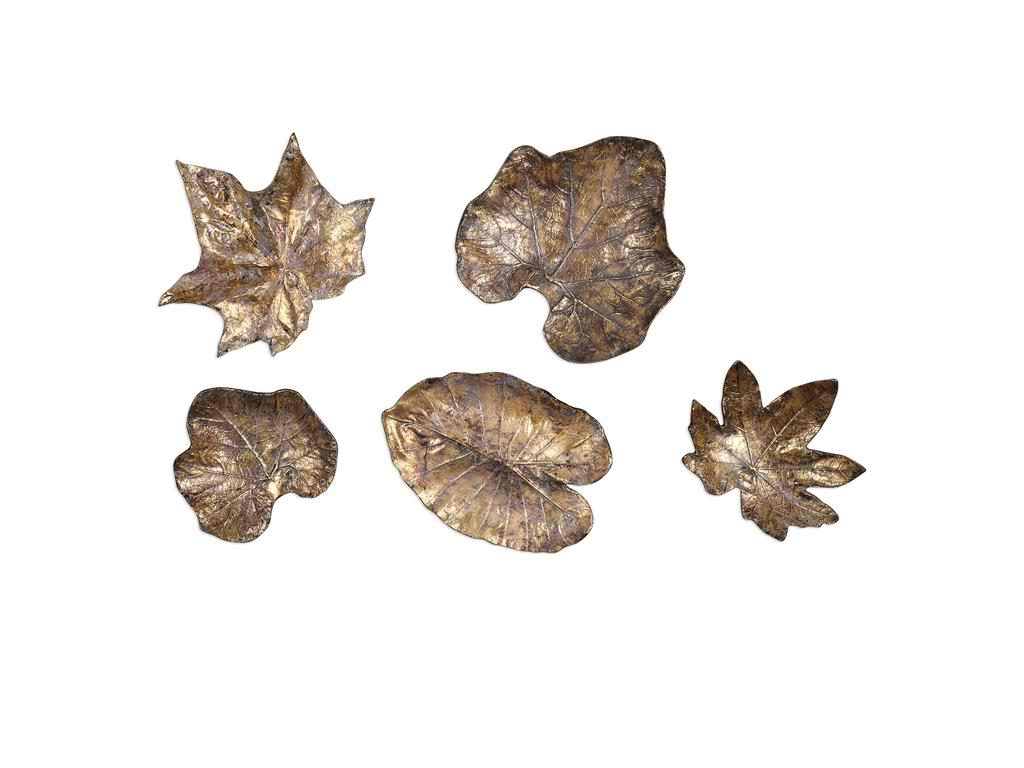
Uttermost Accessories Bronze Leaves Wall Art Set5 04063
Utilize the Paint Grid
Painting can take days so if you have more to do tomorrow, there is no need to go through brush cleaning each day. Simply roll off or brush the excess paint then wrap everything in food wrap. Double up the plastic to make sure that air is sealed out then have the roller sleeves and brushes placed inside the fridge. This should keep them fresh, avoiding paint dry up overnight. You can even store the brushes and roller sleeves for as long as a week if you are about to tackle an ambitious job.
The following day, just remove the gear from the refrigerator then use after 30 minutes.
Roll the Paint
A neater approach to rolling paint is to have it roll directly from the five-gallon bucket with the use of a paint grid. This is a rectangular plastic or metal screen that can be hooked on the rim of a bucket. Fill the bucket to about 50%, dip the roller, then roll it against the plastic or metal grid. This should remove any excess paint.
Use an Extension Pole
Get rid of the stepladder and use a telescoping extension pole instead. This comes in various lengths, with some extending as long as 18-36 feet. Longer extension poles are great in painting 8-9 foot tall ceilings.
As you shop for extension poles, make sure that you find one that has a non-slip, soft grip and a metal core. Check also that the threaded end of the extension pole is made of metal. Plastic handles may become too flexible which could make them a tad more difficult to control.
Just Paint
Lastly, what else is there left to do but to paint? Go out, find your favorite color and see if it blends well with your chosen theme. Ask your family members or friends to help out so that this project becomes easier. Shop for the tools together, plan the project together, and of course, don’t forget to have fun!
Tags: accent wall, home painting, how to paint, McCreerys, McCreerys Home Furnishings, painting, painting guidelines, painting job, painting task, painting the wall, painting tips, tips, wall color, wall painting
Posted in Accents, Accessories, Color Schemes, Interior Design 101, Interior Design Elements, Wall Design | No Comments »
Wednesday, August 24th, 2016
Tommy Bahama Home Dining Room Cayman Kitchen Table 531-870
Whether you have decided to remodel your kitchen or are building one from scratch, countertop is one of the pieces that can make or break your kitchen’s look. You might feel overwhelmed as you take a look at the options that are in the market. The range of countertop surfaces range from the renowned butcher block to terrazzo and glass. Here are some of the most popular –
A Host of Choices in Granite
Granite offers pretty mottling and a wide array of patterns and colors that are beautifully found in nature. This countertop is able to withstand the harshest knife scratches, splashes, wear and tear, even heat.
The downside to granite – just like any other stone countertop – is that it needs to be sealed more often; this is so stains can be avoided. Also, since it is heavy, you’ll need sturdier cabinet materials to support its weight.
Granite price is at $35-$100 each square foot.
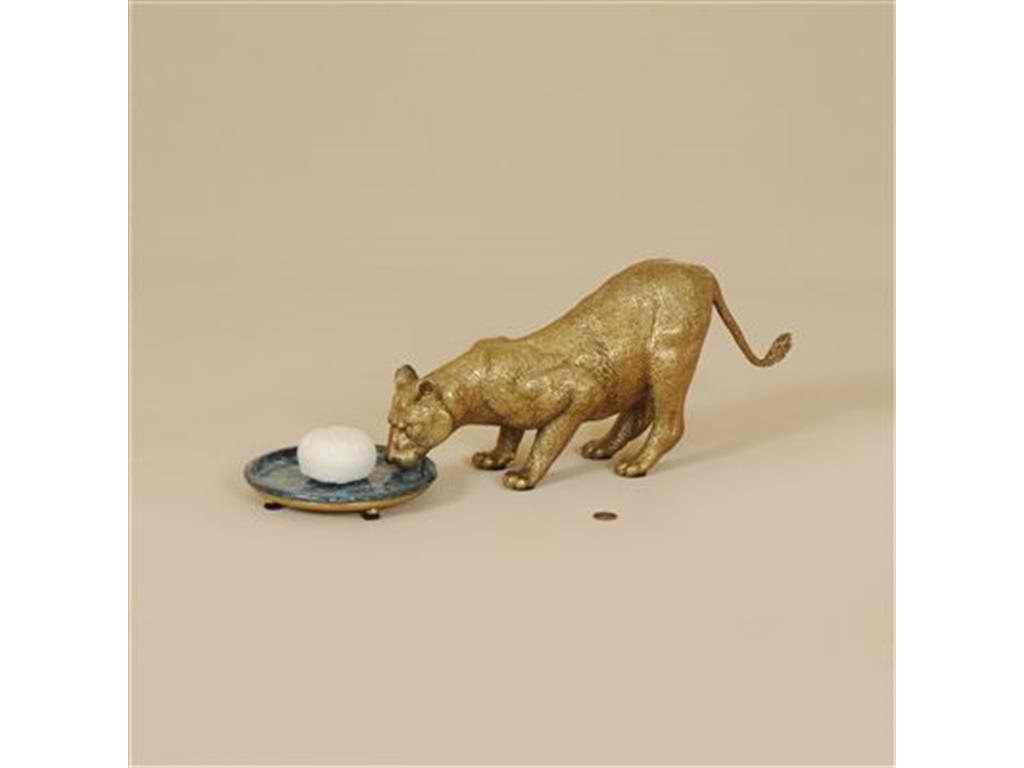
Maitland-Smith Bathroom Cast Brass Lion Soap Dish 1254-339 will look great against a new kitchen backsplash.
Quartz: Engineered for Beauty
Crafted quartz chips and resin comprise what’s known as quartz surfacing or engineered stone. This is a cross between stone and solid surfacing. This is an engineered product which is why there is a variety of patterns and colors that you could choose from.
Quartz is relatively expensive but when you look at it in the long run, it is a worthwhile investment as it can last for a very long time. Costing $40-$90 for every square foot, it is something that you need to plan for in terms of budget and installation.
The Glamour of Marble
Very few materials can come close to the beauty of marble. It is luminescent and it offers distinctive veining that’s elegant.
Marble stands up very well to heat because it is perennially cool. This is also the reason why bakers prefer it for their pastries and dough.
Marble is susceptible to stains, though, even when you have it sealed. This is why it is not advisable to use this material throughout your kitchen. Limit its use to just one or two areas as it easily chips and scratches.
Marble costs $40-$100 per square foot.
Solid Surfacing Spells Zero Maintenance
Solid surfacing, often generally referred to as Corian, can be maintenance-free. There is no special cleaning or sealing required. It can be susceptible to burns and scratches though these can easily be sanded out.
There are extensive color and patterns choices, with some even looking like natural materials. Experiment with the most vibrant hues like tomato red or turquoise.
A downside to solid surfacing is its artificial look. It may be maintenance-free but it does not stand too well to sharp kitchen tools and hot pans.
Modular, Inexpensive Tiles
Porcelain and ceramic tiles have almost a limitless array of options for styles and colors. Tiles work in most bathrooms and kitchens, with the design ranging from country to anything as majestic as the Old World.
Tiles can withstand sharp cuts and heat, they can even resist stains. They may chip or crack easily but they are quite easy to replace.
Make sure that the installed tiles are sealed so that grout and bacteria won’t grow.
The cost for every tile is at $10-$80 for every square foot.
Laminate: A Kitchen Mainstay
This kitchen countertop material is made out of paper and resins. It is basically particle board that used to be regarded as unstylish but this has been slowly changing over the years. The latest styles are now able to mimic butcher block and natural stone. The greater news is that laminate surfaces are a lot more affordable than most materials.
Laminate surfaces are prone to burns, scratches and staining. The layers can even peel once exposed to moisture and wear and tear.
Tags: countertop choices, countertop options, granite countertop alternatives, kitchen countertop, kitchen countertop materials, McCreerys, McCreerys Home Furnishings, non-granite choices, non-granite countertops, tips
Posted in Interior Design 101, Interior Design Elements, Kitchen Design | No Comments »
Tuesday, August 23rd, 2016
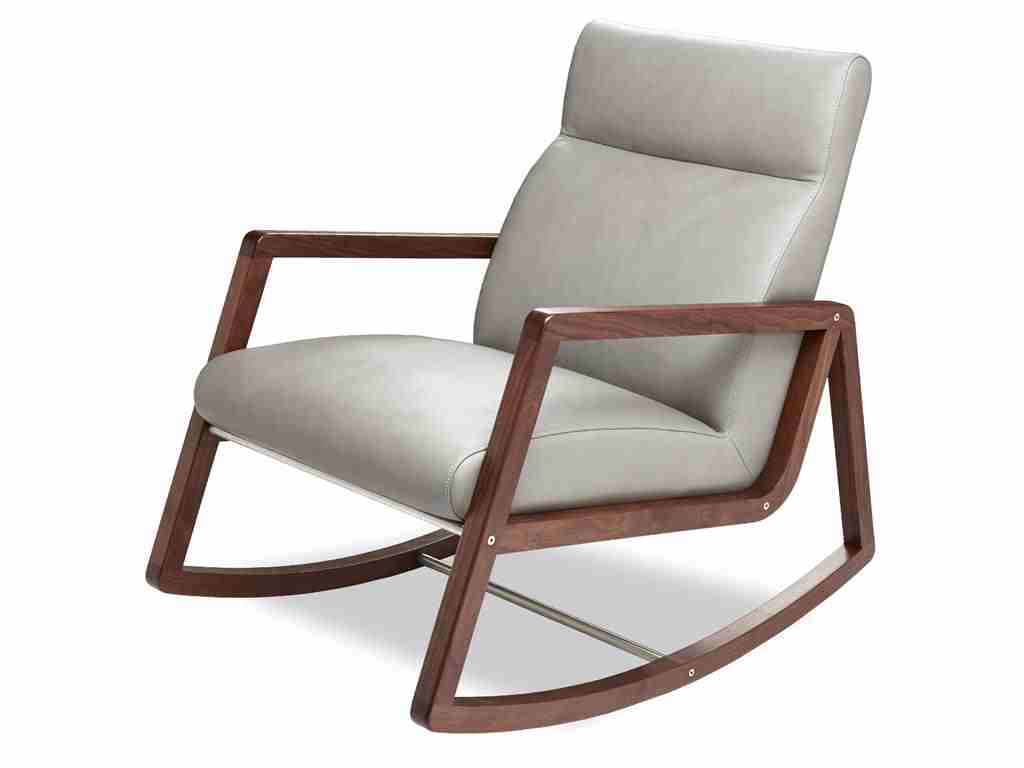
American Leather Living Room Nolan Chair NLN-CHR-ST
When it comes to babyproofing your home, it is always best to be on the know. Parents – especially moms – tend to worry about how to protect their children from all sorts of danger – even in their home. Experts believe that children aged 1-4 are likelier to be killed by poisoning, drowning, choking, and burns. It is not surprising, therefore, that moms tend to be hands-on when it comes to interior design and other aspects pertaining their home.
Home safety can be an overwhelming project but for moms, it is something that must be done – fast. This means that place must already be babyproofed by the time the little one begins to crawl or climb.
Here are some recommendations on how you can keep your child safe in your home –
Buy Safety Gadgets
There are now baby monitors and other gadgets that are sold in the market which can help you keep your little one safe. You can either hire a professional childproofer or you could research then shop for the safety devices.
Remember, though, that these gadgets are no substitute for the parents’ eyes and ears. You should still personally supervise your kid’s safety.
Wear the Baby’s Shoes
An effective way to know which things could endanger your child is to look through his or her eyes. Have a baby’s eye view of your home.
Think – if you were a baby or a toddler, what would look tempting? Which things can you easily reach? You can then figure out which drawers, cupboards or furniture pieces you should childproof.
The more that your baby walks and climbs, the more that you will need to reevaluate your safety plans.
Store Away Poisons, Knives, etc.
Carefully stow away hazardous chemicals and sharp kitchen tools. If you can get a lock for your kitchen cabinets, then do so. Use small gates to limit the kid’s access to potentially dangerous areas of your home. The most dangerous spots include the bathroom and the kitchen but the living room could also present dangers such as possible electrocution or strangling.
Keep an eye out for smaller objects such as paper clips and coins. Have the office desk – or the office itself locked.
Be watchful also when you have some visitors. Childproofing your home is no guarantee that your cousin will do the same. She could be carrying small items such as lipstick, pills and other stuff that could endanger your little one.

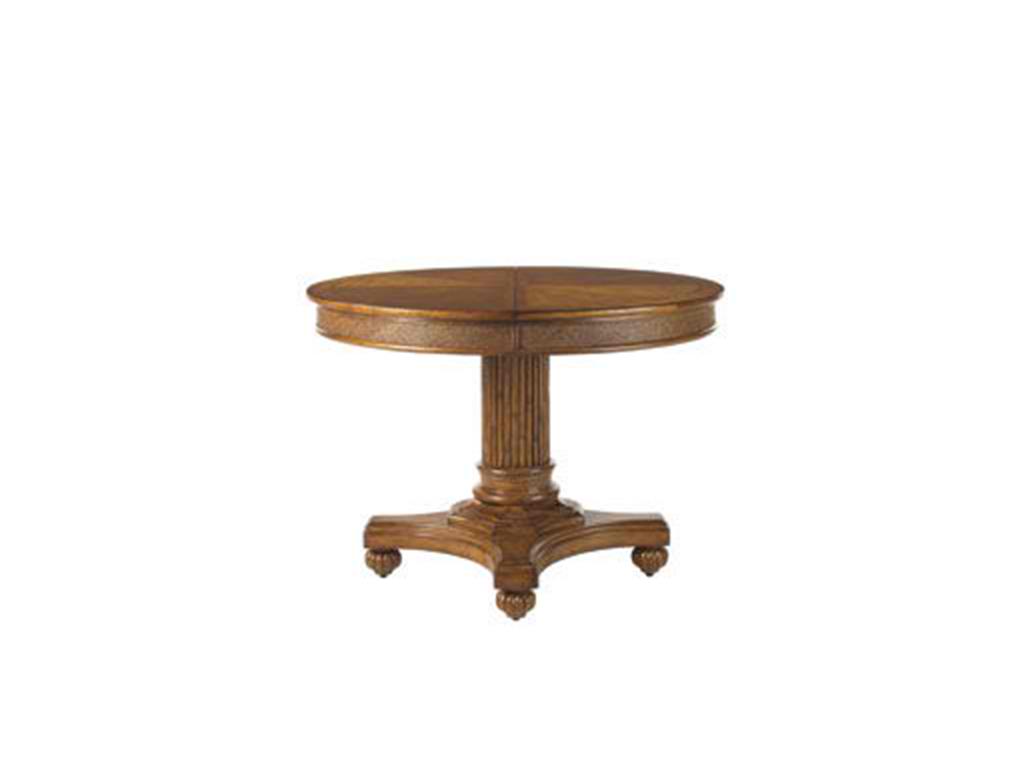
The Canadel Dining Room Round Table with Legs TRN5454LA-1 has rounded edges which makes it perfect for childproofed homes.
Choose Natural Wood Furniture, Eco-Friendly Mattress and Fabric
Moms should seek out all natural wood furniture for their kids whether they are shopping for cribs or beds. Quality solid wood can be hardwood or softwood. Children’s beds come in different designs, finishes and frames that will meet your child’s needs.
Make sure the cribs come with guard rails and the bed with toddler rails. Choose drawers and cabinets that come with rounded edges. These are safer while still being stylish.
Babies need firm support for them to sleep safely and soundly. The crib is supposed to be used for three years. There are three kinds of mattresses for babies – foam, innerspring and organic. The third type is best because it is made with all-natural materials such as wool or cotton.
As for the changing table, you will need to buy something sturdy since the average diaper-changing prior to a child’s first birthday is about 2,400. Make sure this furniture comes with a guardrail or a safety strap.
Another nursery piece is the rocking chair. Babies simply love the rocking motion that this furniture offers so make sure to buy a comfy one since the mom’s the one who’ll do the rocking.
Basically, the furniture that you should invest in is something that meets or even exceeds government safety standards. These products should have been tested for durability and safety.
Tags: childproofing guidelines, designing kids' rooms, designing the nursery, home for kids, McCreerys, McCreerys Home Furnishings, nursery design, nursery essentials, nursery furniture, tips
Posted in Interior Design 101, Interior Design Elements, Special Rooms In Your Home | No Comments »
Follow us on our social media
© McCreery's Home Furnishings | All Rights Reserved | Privacy Policy