- Follow us:


Monday, August 29th, 2016
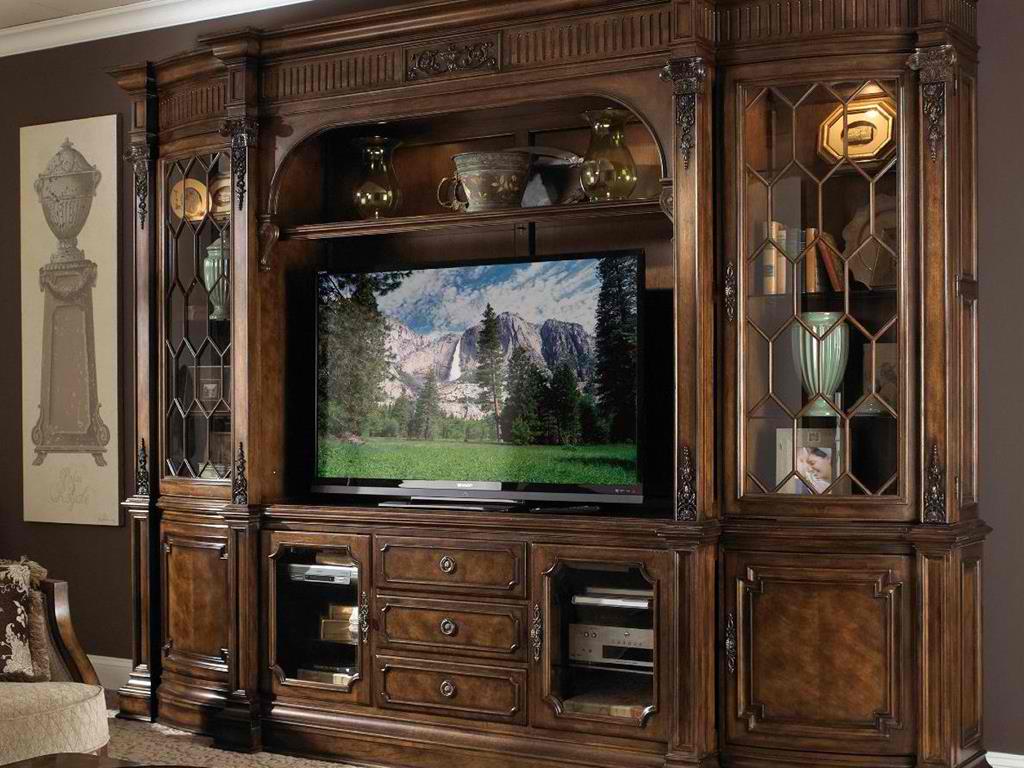
Fine Furniture Design Home Entertainment Entertainment Wall Unit Base, Left 1150-692BL
If you ever stayed or lived in an apartment where you weren’t allowed to paint walls, then you do understand how difficult it can get to become creative. You could only dream of personality and warmth for the room because a painting job simply can’t happen.
If you’re faced with this dilemma, then you have to think of creative ways to cover the walls. Sure, decorating minus paint can be a real challenge but you should not default straightaway to sterile, cold colors like white or beige. Never allow the no-paint rule to make your home look pale or stark.
Here are some tips that can help you decorate the walls with style –
Wall Graphics
These are fantastic things that can aid in your customization of the walls. They are quite easy to apply and remove. No matter what your style is, you will find that wall graphics can make plain walls appear seemingly intricately painted. You can also create the look of a mural.
The great news about wall graphics is that they are not just limited to bare walls in living rooms. You can also spruce up your kitchen cabinets or make the lampshade more exciting. This means that you can use wall graphics if your taste is contemporary, country, or practically anything else. You can even use them if you love everything that’s Zen.
Wall graphics are also available as blackboards which are quite in these days especially inside kitchens.
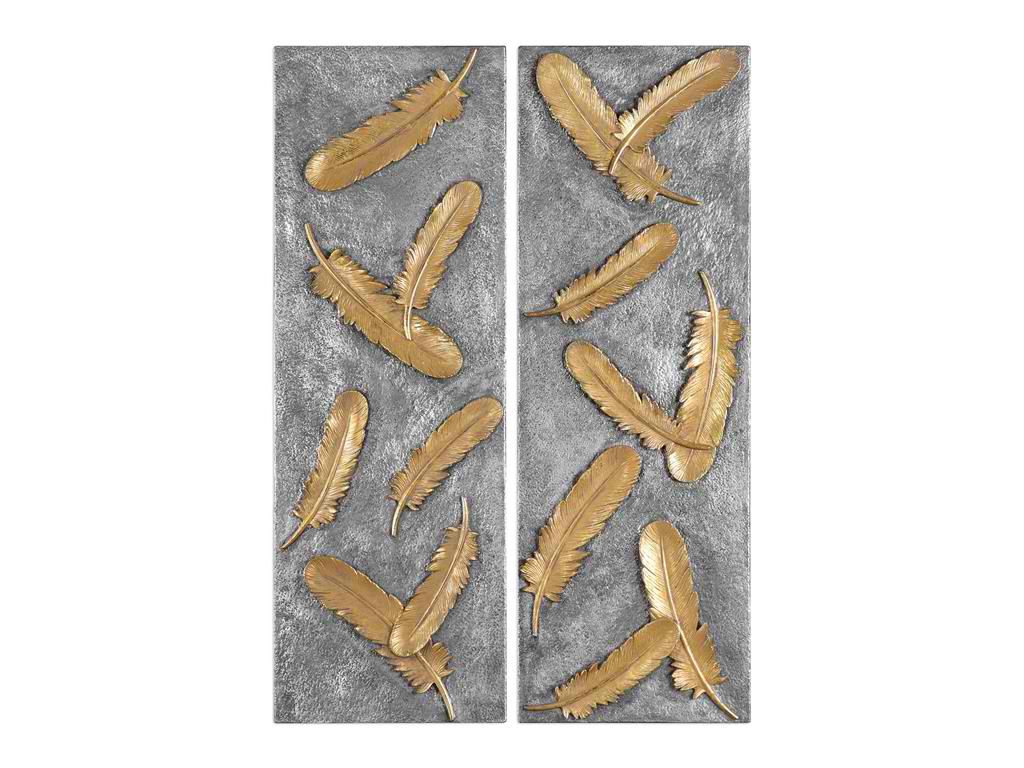
Uttermost Accessories Falling Feathers Gold Wall Art Set2 04073
Temp Wallpaper
This is also referred to as the peelable or strippable wallpaper. It is a decorative accent that works pretty much like the usual wallpaper but the only difference is that it peels away easily and it won’t even leave any residue.
Temporary wallpaper is available in DIY shops and stores and home depots. It is also available in paint shops and online sites. The downside is that they are a bit more expensive. You have to pay about $100 for every eight foot tall, 25-inch width of temporary wallpaper. You can cut down on the cost if you use this wallpaper on an accent wall instead of covering the entire room.
Peel and Stick Tiles
Adding a temporary color to the kitchen is as easy as buying peel and stick tiles. Do this if you’re tired of your kitchen’s current backsplash. These tiles are available in many colors and styles. You can buy them from home improvement shops.
Use scissors or a utility knife to cut them up. They can be easily cleaned using a soft cloth. They also peel off easily and don’t leave any residue once you decide to redecorate or move out.
Curtains
Having curtains doesn’t automatically mean that there should be a window behind it. Use an ordinary curtain rod and attach it to the wall right near the ceiling. Hang the coolest fabric that you can find, the type that reaches down to the floor to achieve an illusion of height.
Fabric
There are two options for fabric – this can be stretched right over the wall or it can be secured using small nails or thumbtacks. You can also buy foam boards that are as high as the walls. Have them covered with fabric then attach the boards onto the walls.
Whichever you end up choosing, adding splashes of colors on the walls is easy without you altering anything permanently.
Hang Art (Whether Yours or Another’s)
It’s time to get creative. Invest in huge canvasses then paint! You can also buy inexpensive pictures from stores and make a collage. This is a surefire way to decorate the walls and make them look unique. Hang the heavier artworks on a stud and not directly on the drywall.
Tags: art, artwork, artwork on walls, blank wall, blank wall designs, curtain, decorating with curtains, decorating with wallpaper, displaying artwork, displaying works of art, dressing up blank walls, fabric, McCreerys, McCreerys Home Furnishings, temporary wall covering, tips, wall covering, wall decor, wall design, wallpaper, wallpapering
Posted in Accents, Accessories, Interior Design 101, Interior Design Elements, Wall Design | No Comments »
Monday, April 18th, 2016
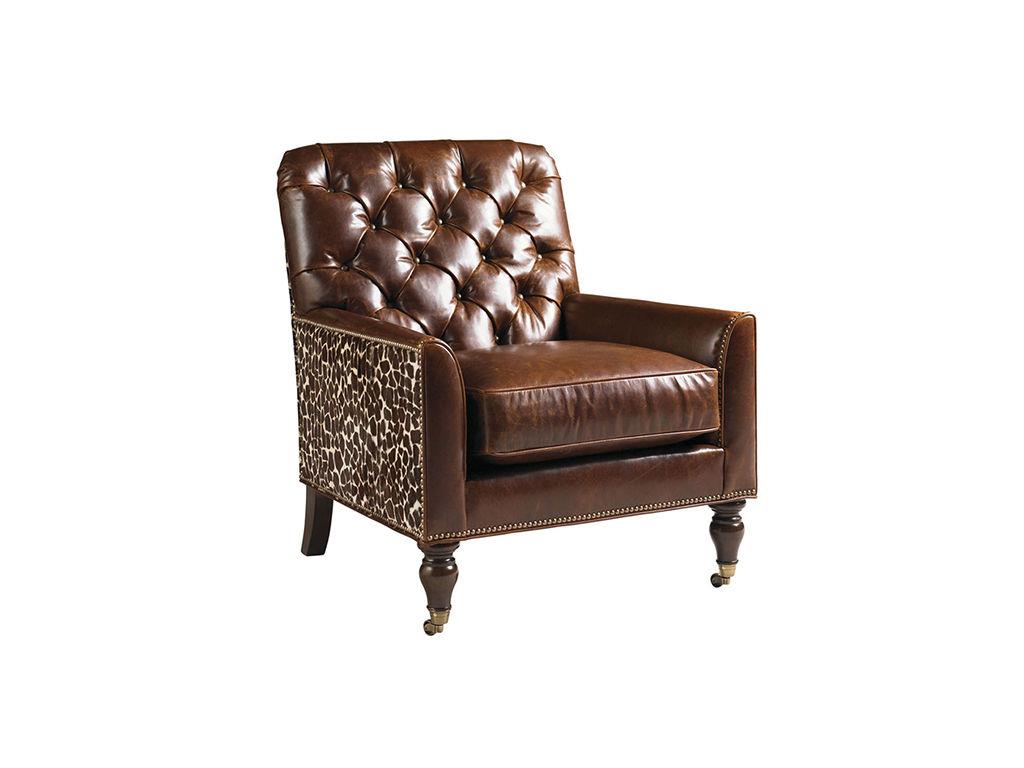
Lexington Living Room Sandhurst Leather Chair LL7534-11BB is the right subject to the frames created by the stencils on the walls. It also comes with stenciled giraffe hair-on-hide.
Have you ever dreamt of doing an interior design project for your home but ended up commissioning your friends or a professional to finish the task for you? ‘Ever wonder if you can actually finish a task that you can actually call your own? Now you actually can – there is a simple project that can be done by one person in just a few hours. Wall stenciling is a fun, hip and easy way to decorate the walls of your home.
It’s Also a Paint Job
Majority of acrylic and latex paints are great for wall stencil jobs. A nice opaque paint should be good but you have to prepare yourself in cleaning the stencil more often. Opaque paint tends to build up so if you are new to stenciling, you might as well resort to regular latex paints. Craft acrylic paints also work well on stencils.
Paints that won’t work with a stencil project are oil-based paints and spray paints. The latter is a lot more difficult to control though some have already used it with great success. Again, if this is the first time that you are using stencils, then opt for the time-tested paints.
A flat sheen base is the best surface for stencil projects. Glossy surfaces do not absorb the stencil paint as effectively as basecoat does. Plus, you can be assured that basecoat offers a quicker paint drying process.
Other than a basecoat, you can also have a craft acrylic or flat latex paint. It dries more quickly and has less tendencies of seepage.
You may ask for a spray adhesive from any of the craft stores. This can greatly reduce bleeding on your stenciling. Mist the back of the stencil in an airy area then let dry for just a minute. Never drench the stencil with this adhesive as it could transfer onto the wall.
Re-apply every few prints as it could lose its tack.
Using any kind of glitter is also not recommended for your wall stencil project. The usual results are smudging and bleeding and you wouldn’t want those.
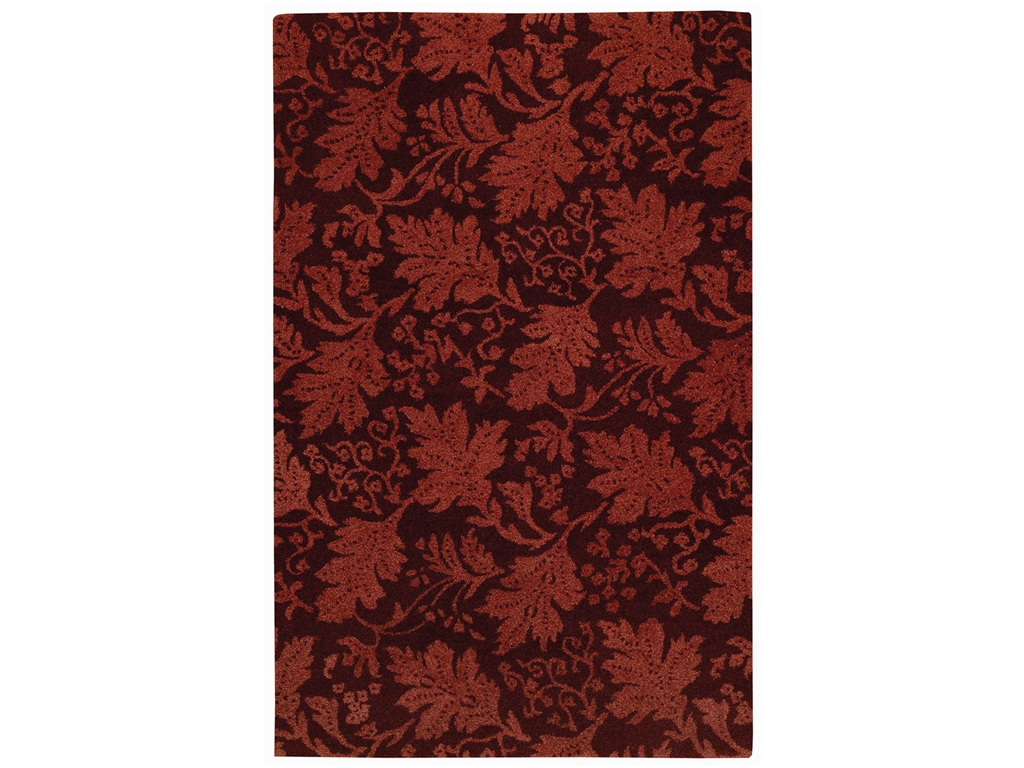
Capel Incorporated Floor Coverings Waller Oak Rug 9221RS05000800550 is traditionally-woven with stenciled leaf designs. This carpet shows how stenciling can be carried over to other interior design elements.
The What Ifs of Texture
There are some really rough textures out there that offer peaks and valleys depending on your desired wall outcome. Should you have existing walls that are textured, then stenciling might not be a project that you can look into at the moment. There are, however, some light to medium textures that can still accommodate stenciling. Some use textured plaster as background then stencils are used on top. Use leaf or branch stencils rather than the usual straight lines in order to work well with the existing texture.
Working with textures means you use but a little paint on the brush. The paper towel is your new best friend as it can be used as a means of loading off excess paint. Use dabbing or rubbing motion when stenciling.
Do not force the paint to the stencil edges. Use a dense foam roller if you have to make sure of a relatively dry application.
Materials and Tools
These are some of the common tools that you will need –
Investing in quality stencil brush should be one of your priorities. You may have the best color and texture of paint but if you end up with a shedding brush, then all your energies would be futile. You may practice on a huge piece of board at first till you master the technique that you are going to use.
Stenciling can be a great part of your interior design project. Just make sure to balance it out with neutral furniture pieces that will make your design task a huge success.
Tags: dressing up blank walls, McCreerys, McCreerys Home Furnishings, stenciling, stencils on walls, wall design, wall stencil, wall stencils
Posted in Interior Design 101, Interior Design Elements, Wall Design | No Comments »
Friday, April 15th, 2016
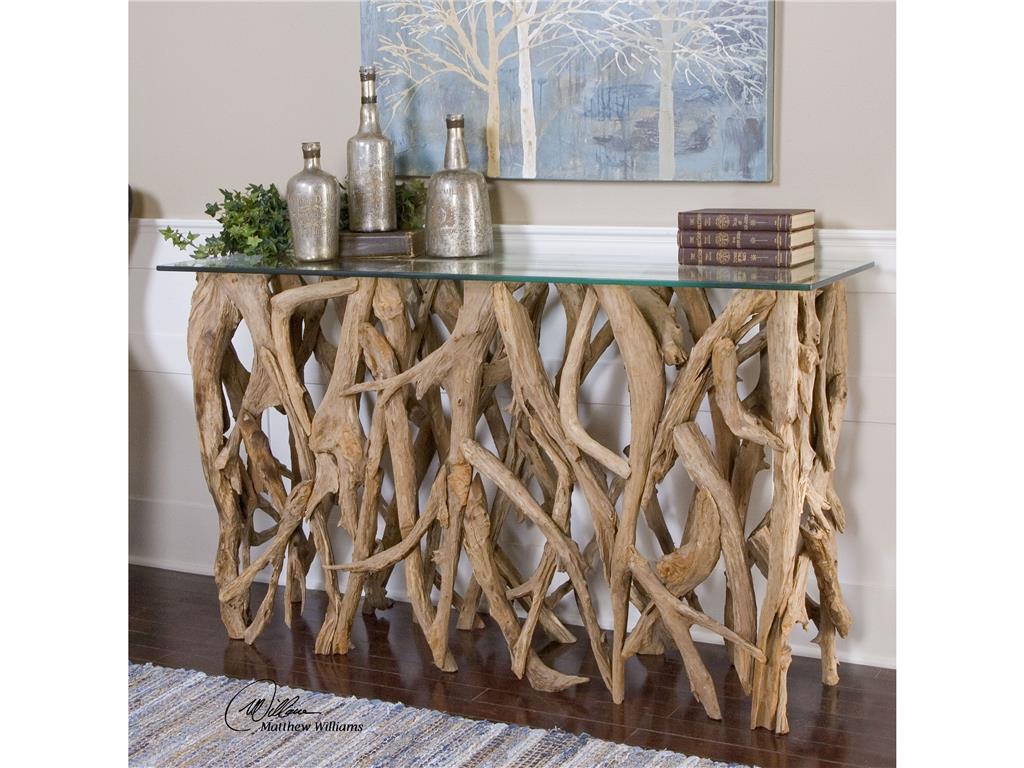
Living Room Uttermost Teak Wood Console 25593 is an interesting piece for a simplistic wall and floor design.
Architects often talk about details when they are referring to parts of houses. They can talk endlessly about the beauty of their form, even the way that they intersect. Homes come with many intersecting points and materials which is why there are a lot of things to consider when it comes to these intersections’ designs. The aesthetics could be the simplest for the undemanding homeowner and pricey for the ones who prefer ornately-designed dwellings.
One of the most important details to consider is the baseboard detail. This protects a high-traffic zone in your home and conceals the joints between the floor and the finished wall. The traditional baseboards have been provided with the most elaborate adornments. Baseboards ought to be, as they have always have been, minimalist yet functional.
The Zero Base
The elimination of the base will give you the simplest, ultraclean look. Remember that details eliminating the baseboard are much easier to maintain as there are fewer areas for the dust to settle. These also reduce materials, installation as well as finishing costs as compared to the traditional baseboard.
Prepare for some trade-offs, though, as wall bases like these are more prone to vacuum and foot traffic damage. There is also a decreased tolerance for error in drywall finishing.
There are compromises in having a no-base wall detail especially for those who love all things that are frivolous or posh. Be ready to embrace minimalism when you go with the zero base.
The Small Reveal
That joint between the floor and the wall must be kept open. This is what architects refer to as the small reveal. This allows surfaces to move freely from the other. This detail can be a bit unforgiving during remodels as uneven floors are obvious on the entire length of the level base.
Living with the trade-offs is possible.

Uttermost Accessories Siam, Candlelight Wall Sculpture 20850 gives character to any neutral wall.
The Reveal Base
The reveal is every contemporary and modernist’s playground. The joint is separated and expressed between the materials, and here, the reglet (another term used for the reveal) comes with a small plastic or metal piece sitting between the base of the floor and the wall. This creates a little shadow line flanked by the surfaces.
If you want to add a certain level of complexity to your home then this is the way to go. It offers a clean, crisp edge that not difficult to finish. You can paint it to contrast or match your wall color.
The reveal base becomes exceptionally nice when it separates various materials, for instance, drywall and concrete. This will literally make your wall look like it is floating.
Reveals come in different profiles and sizes. There are also customized reveals which are fabricated right on the site where you’d buy it from. You have the leeway to choose the kind of materials that you will use for this significant architectural piece.
The reveal can also be fused to the design language by using it all the way to the window trim and door. Only the most skilled contractors can make reveals look impeccable so be sure to speak with someone who already has experience doing such a project.
The solid wood trim board installed above the reveal can up the strength of the detail. As it grows taller, the reveal will be more like an inversion of traditional base rather than a reveal.
The Flush Base
This is the best wall base to address wall protection problems. It decreases dust accumulation while keeping your interiors as modern as possible. Try to expose the material composition in order to create modern detailing.
To cap the day, hang lovely artworks onto the walls…life is truly sublime.
Uttermost Accessories Siam, Candlelight Wall Sculpture 20850 gives character to any neutral wall.
Tags: McCreery's Furnishings, McCreerys, McCreerys Home Furnishings, reveal base, small reveal, wall and floor joint, wall design, zero base
Posted in Accents, Interior Design 101 | No Comments »
Follow us on our social media
© McCreery's Home Furnishings | All Rights Reserved | Privacy Policy